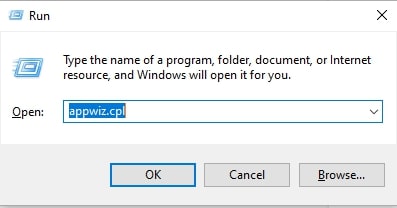

An easy way to access all drives on Windows 11 helps when you want to locate, manage, and fix issues related to various drives. This article walks you through how to access drives on This PC quickly and easily.
The easiest way to access all drives on This PC on Windows 11 is through File Explorer; click This PC in File Explorer to view all your drives. The sections below explain this and other methods in detail, beginning with what all drives on This PC actually means.
What Does All Drives on This PC Mean
All Drives on This PC means the devices and drives, including your C: drive, D: drive, external hard drives or USB flash drives, network locations if you map a network drive on Windows, and cloud storage drives such as OneDrive if they are configured as a folder location.
Windows assigns a letter to each of these drives. C: is the main drive on your system; D:, E:, and so on are the other drives that you have plugged in.
Generally, D: and E: are the Secondary HDD/SSD drives; E:, F:, and G: are the USB Flash Drives; D: or E: can also be the Optical Drive (DVD); an external hard drive, network drive, and SD card drive can have any letter. You can access all these drives on your computer by following the guide below.
How to Access All Drives on This Computer
File Explorer, Disk Management, Command Prompt, and PowerShell are the most straightforward methods to access all drives on This PC in Windows 11. Below, all these methods are explained in detail.
Method 1: Use File Explorer to access all drives
You can access all drives on Windows 11 using the graphical user interface of Windows File Explorer. Here is how.
- Press the Windows key + E to open File Explorer.
- Click This PC in the left sidebar of File Explorer.
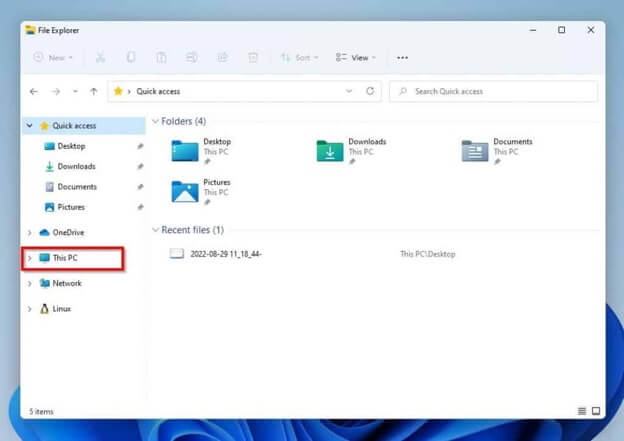
- All your drives should now be visible. However, if no drives or partitions are visible, click the + button beside This PC.
Also know: How to Show This PC on Desktop in Windows 11/10
Method 2: Access all drives using built-in Disk Management
Disk Management is a Windows tool to manage hard drives on your PC. To use Disk Management, follow the steps below.
- Press the Windows key + X to open the Quick Access menu.
- Click Disk Management in the menu that appears.
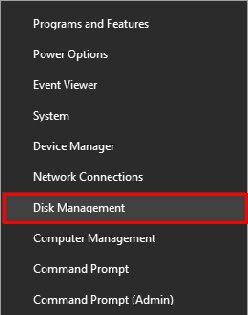
- In Disk Management, you can find a list of all connected hard drives and partitions.
- If no drives or partitions are available, right-click the Unallocated area and then click New Simple Volume to create a drive.
Method 3: View all drives using Command Prompt
If you are familiar with command-line interfaces and are comfortable using them, you can use Command Prompt to view all drives in This PC. The following steps explain how to access all drives using Command Prompt.
- Click the Start button.
- Type cmd in the search bar.
- Right-click Command Prompt in the search results.
- Click Run as administrator.
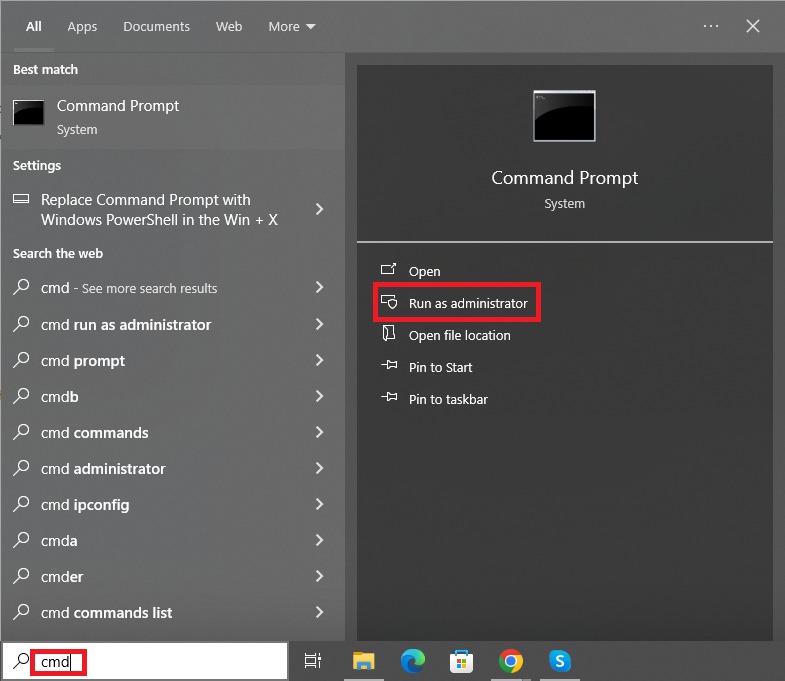
- In the Administrator Command Prompt, copy and paste diskpart, then press Enter to open the DiskPart tool.
- Copy and paste the following commands in sequence, and press Enter after each command to see all the drives and partitions on Windows 11.
diskpart
list disk
select disk X
(Change “X” to your disk number)
list volume
or
list partition
Method 4: Access drives with PowerShell
PowerShell is another command-line utility that allows you to get a list of all drives on your computer. Here is how to use it.
- Right-click the Start button.
- Click Windows PowerShell (Admin) in the menu that appears.
- In Administrator Windows PowerShell, copy and paste the command Get-PSDrive and press Enter to view all drives.
However, if you encounter a drive is not showing in This PC problem, you can check below for how to fix it.
Troubleshoot a Drive Is Not Showing in This PC Issue
The drive may not be showing because it does not have a letter assigned, it is not initialized, there is a driver problem or hardware issue, or it is not formatted correctly. Follow the fixes below sequentially until the problem is solved.
- Open Disk Management and search for any disk with unallocated space or without a letter. Right-click that partition, click Change Drive Letter and Paths, click Add, select a letter, and click
- In Disk Management, right-click the Not Initialized disk, click Initialize Disk, and then select MBR for drives below 2TB or GPT for larger drives. Remember that it erases data and should be used safely only on expendable or empty drives.
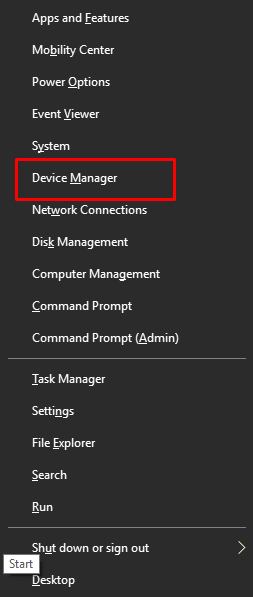
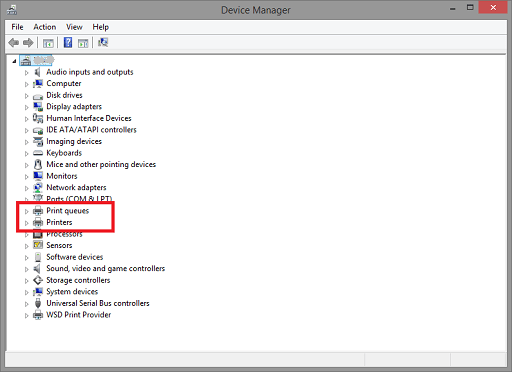
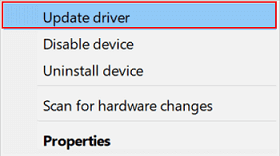
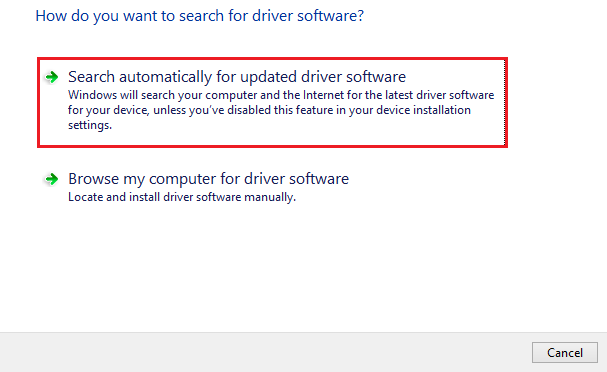
- Right-click the Start button, click Device Manager, double-click Disk Drives, right-click the problematic drive, click Update Driver, follow the prompts that appear, and restart your PC.
- Use Disk Management to format an incorrectly formatted drive to NTFS or exFAT. Remember that it wipes out everything from the drive.
Below are the answers to some commonly asked questions about accessing all drives on This PC in Windows 11 to clear up persistent doubts.
Also know: Disc/DVD/CD Drives Not Showing or Missing on Windows 10 {FIXED}
Frequently Asked Questions
Q1. How do I show all drives on my PC?
To show all drives on a Windows 11 PC, press the Windows key + E and then click This PC. For more details and other easy methods, refer to the guide above.
To show hidden or system drives, press the Windows key + E, click the three-dot menu, click Options, click Change folder and search options, click View, click Show hidden files, folders, and drives, uncheck Hide protected operating system files, click Apply, and then click OK.
Q3. How do I map a network drive so it shows in This PC?
To map a network drive, press the Windows key + E, click This PC, click the Computer tab or the three-dot menu, click Map network drive, select a drive letter, enter the network path, click Reconnect at sign-in, and then click Finish.
Hopefully, this helps you access all drives on This PC in Windows 11 easily to find, manage, and troubleshoot all the drive-related issues hassle-free. However, if you have any questions or need clarification, leave us a comment.


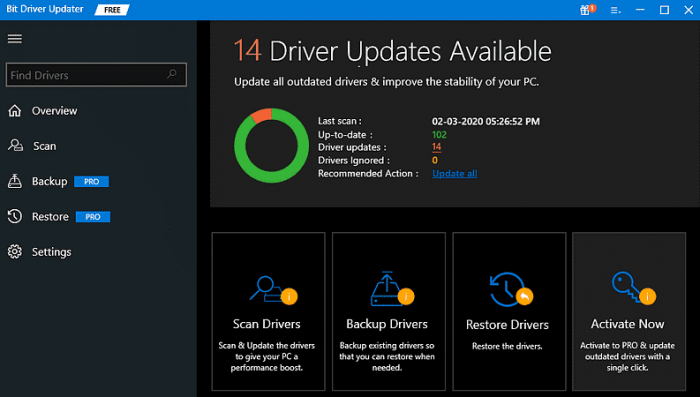
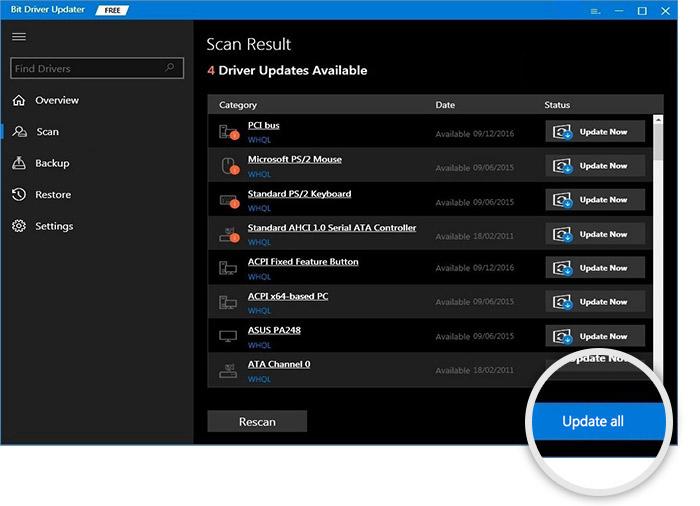 However, this requires a Bit Driver Updater’s pro version. The pro version lets you use the driver updater utility tool to its complete potential. Furthermore, the pro version of