
You don’t need to move your scanner or connect it manually to every device if you use a USB scanner from multiple computers or locations. By learning how to share a USB scanner over a network, you can use your scanner from other PCs or locations without moving it.
To share your USB scanner over a network, you can use NAPS2 (Not Another PDF Scanner; free, open-source software that scans and identifies documents through WIA- and TWAIN-compatible scanners) or USB Network Gate. This article walks you through both approaches step-by-step.
Below is how to share a USB scanner on a network via NAPS2 or USB Network Gate, whichever method you find most convenient.
NAPS2 uses a PC with a local USB scanner as a scan server through which NAPS2 clients can connect over the network via eSCL (a scanning protocol without drivers). Below are instructions for configuring and using it to share a scanner over the network.
- Go to the official NAPS2 website on a computer connected to the scanner.
- Click the Download NAPS2 button for Windows.
- Save the application file in an accessible location on your computer.
- Double-click the downloaded file and follow the prompts to install NAPS2.
- Create or choose a NAPS2 scan profile for the attached scanner and perform a quick test scan.
- In NAPS2, launch the Scanner Sharing window from the Scan drop-down or Profiles window.
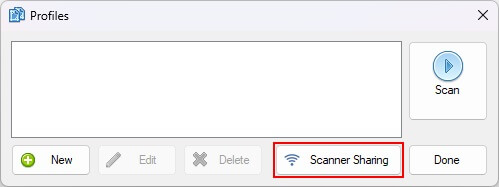
- Select the scanning device you wish to publish.
- Give the scanning device an easily identifiable name, such as Home USB Scanner or Office USB Scanner.
- Leave NAPS2 running to keep shared scanners available while NAPS2 is open on the computer.
- Next, connect the device you want to scan from (the other computer/iPhone/iPad) to the same local or WiFi network as the PC running NAPS2.
- Launch PDFScanner Neo and allow Local Network
- Open the scanner picker at the top of the scan panel and then choose Refresh scanners.
- Select the NAPS2-shared scanner by the name you choose, then scan normally.
Also know: How to Connect a USB Gamepad to a Laptop
USB Network Gate is reliable software for sharing USB devices, such as a USB scanner, over a network. Below is how to share a scanner on a network using USB Network Gate.
- Go to the official USB Network Gate website.
- Install USB Network Gate on all computers that you plan to share your scanner with.
- After installing USB Network Gate, open the application on the PC connected to the scanner.
- Click Share next to the USB scanner that you want to share over the network.
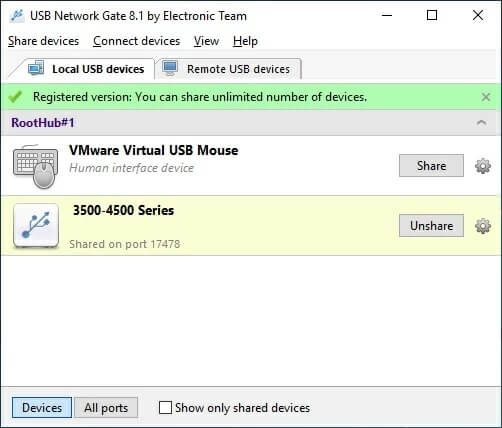
- Run the USB Network Gate application on the device you want to use the scanner on, locate your scanner in the list, and then click Connect to find the scanner in the Device Manager; follow the path Win+X > Device Manager > Imaging Devices or Universal Serial Bus Controllers to find the scanner.
What to Do If the Scanner Does Not Appear
If the scanner does not appear, ensure NAPS2 is open, check the network, allow NAPS2 ports, and ensure the computer and scanner are not in sleep mode.
- NAPS2 does not work in the background; make sure the app is open when sharing the scanner.
- Make sure the devices you share the scanner between are on the same subnet.
- Allow NAPS2 ports for shared devices. NAPS2 uses TCP ports 9901-9950 for HTTPS and 9801-9850 for HTTP.
- Wake the PC and scanner, as sleep mode can disconnect the scanner or make it disappear.
Also know: How to Recover Deleted Data from Pen Drive/USB With & Without Software
Frequently Asked Questions
You can share a USB scanner over the network on Windows 10 using USB Network Gate. Install USB Network Gate on both the computer that has the USB scanner plugged in and the PC that needs to access the scanner remotely; run the app on the server PC; click Share next to the USB scanner; run the app on the PC where you want to access the scanner, find the scanner, and then click Connect.
To share a USB scanner over Ethernet, download and install USB Network Gate on both devices (the one connected to the scanner and the PC you want to share the scanner with), run the app on the PC connected to the scanner, locate the device in the list of USB peripherals connected to the computer, and click Share.
Hopefully, this helps you share the USB scanner over the network. If any questions or concerns persist, leave us a comment.



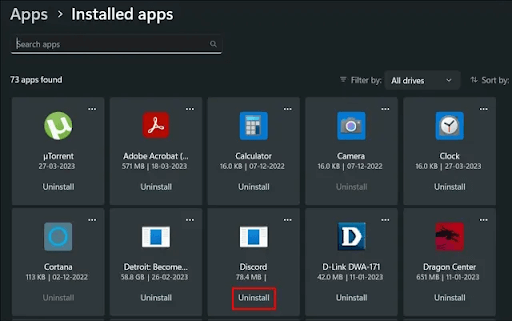


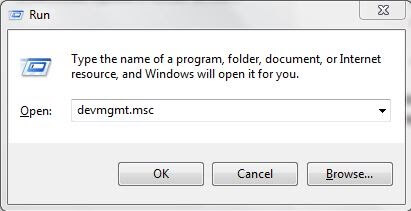 This will open Device Manager on your screen, here you need to look for the Sound, video, and game controllers category. Then, double click on the same to expand it.
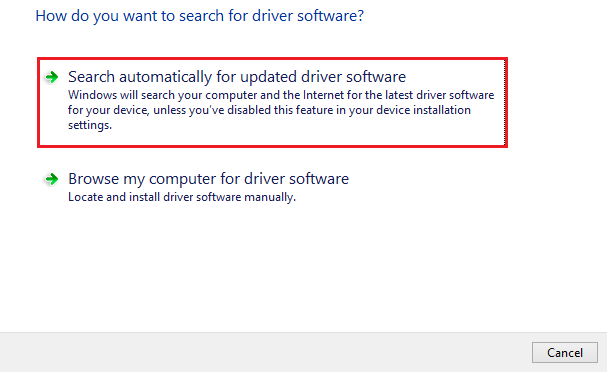
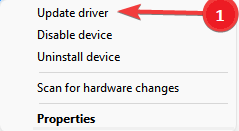 After that, select the Search Automatically option from the subsequent prompt.

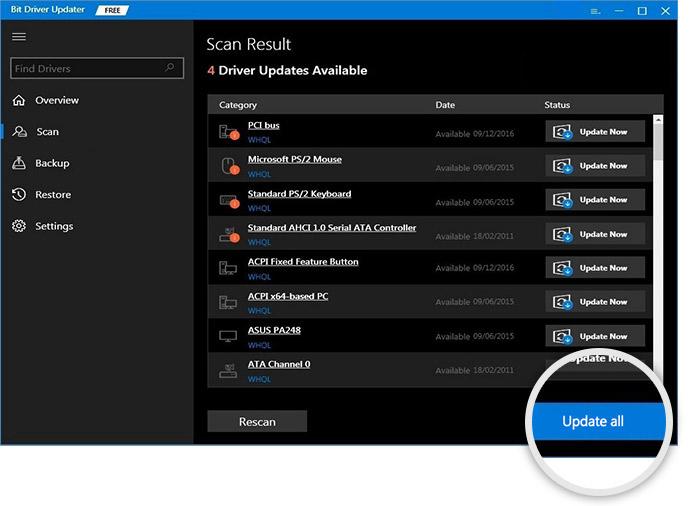
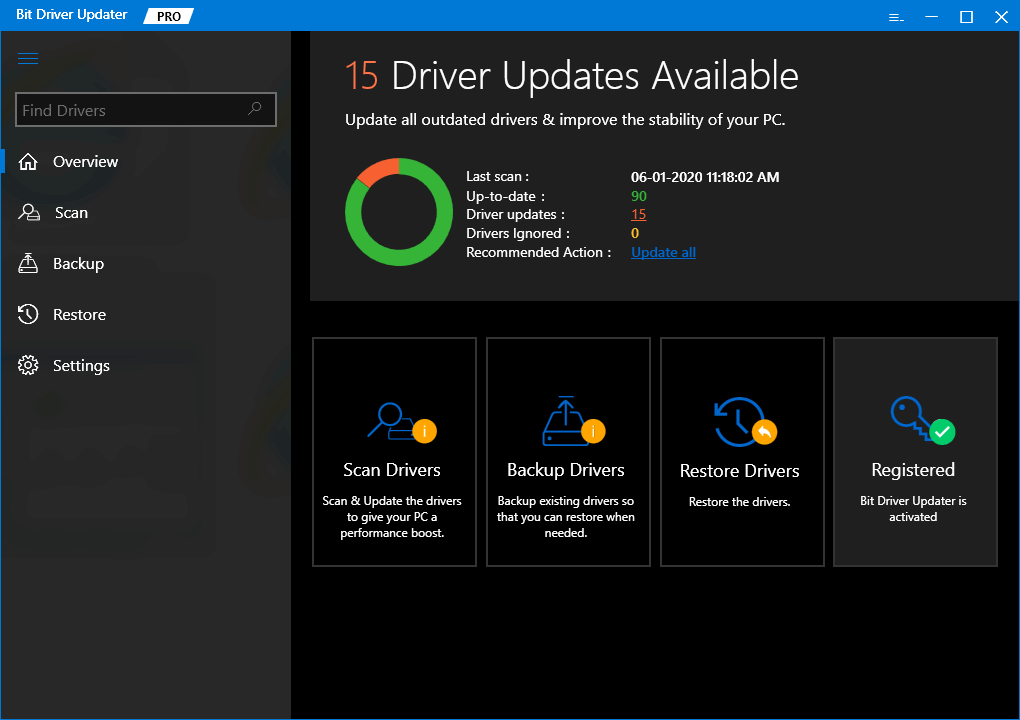 Wait until the scanning is done and display the results.
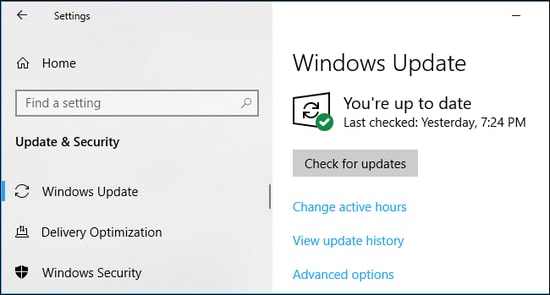
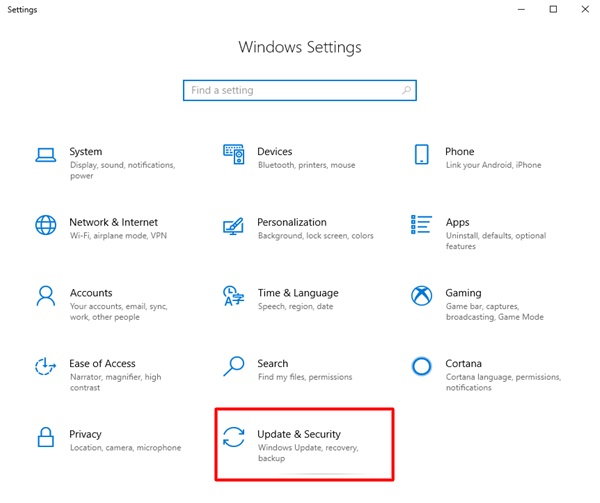
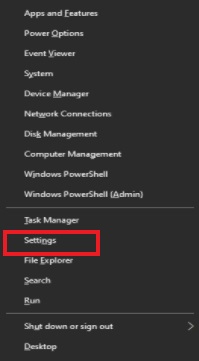 This action will open the Windows Settings menu on your computer screen. Here you need to click on the Update & Security option.
 After that, check to see if the Windows Update is selected from the left menu pane. If not, choose Windows Update to proceed.