How To Post On Instagram From PC or Mac

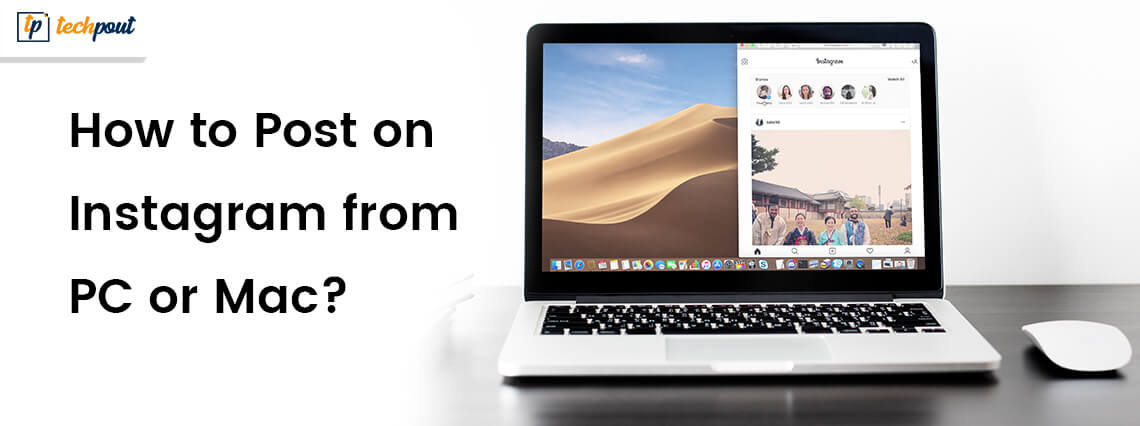
Instagram has become a massive platform for growing businesses and popularizing the professional front of creative artists, apart from being just a social media app for regular users. But to promote the mobile app, they have intentionally not made any provisions for posting on Instagram from Windows PC or Mac systems.
Being an Instagrammer, if you have no clue on how to post on Instagram from your Windows PC or Mac, then you have arrived at the right place, as this article is going to give you a detailed idea about posting on Instagram from your PC or Mac.
Steps: How To Post On Instagram From Your PC or Mac
The following are the methods that you can use to post your photos and videos on Instagram from your Windows PC or Mac.
1. Using the Instagram App to Post on Your Windows Computer
For Windows 10 users, the app can be installed from the Microsoft Windows Store and can be used just like on your phone or tablets. The below steps will explain the nitty-gritty:
- Go to the Microsoft App Store and look for the Instagram app using the search bar.
- Identify the app correctly by the title of the app, which is only labeled as “Instagram.”
- Further, download and install this app on your Windows 10 desktop.
- Then press the “+” sign located on the navigation bar at the bottom to start uploading photos from your computer.
Must Read: Best Free Ways To Generate Instagram Likes
2. Post on Instagram by Modifying the Browsers
Sometimes when we use our mobile browser, we request the site to load the desktop version. The reverse of this can be done too when you are browsing on the computer. This is normally developer-level manipulation; hence, the steps below will serve as a guide to do this. Usually, a site always consults the browser on what kind of page to be loaded when multiple versions are available. This is known as “spoofing,” as you need to make your browser respond with a “mobile” site in place of “desktop.”
Google Chrome
- Go to the three-dot symbol situated on the rightmost corner of the Chrome browser. Choose the More Tools option followed by the Developer Tools option.
- On the next page, choose the symbol with two rectangles representing a phone or tablet.
- Now choose the device and dimensions of the app as it will resemble the mobile app version as the page resizes after modifying the settings and then log in.
- Keep the developer console open, to upload photos on Instagram using the “+” feature or camera.
Safari: How to Post on Instagram from Mac Through Safari Browser?
- Open the Instagram account and navigate to the “Safari Browser Preferences” and then select the Advanced option.
- Here, mark a tick in the box, which says, “Show Develop menu in the menu bar.”
- Then, go to the Develop tab, select “User-Agent” and then “iPhone.”
- Further login again after the page refreshes to see the camera icon on the top of the page. You can use this to start posting on Instagram.
Mozilla Firefox
- This facility is available only on the latest version of Firefox.
- Navigate to the Tools tab, then go to Web Developer option followed by choosing the Responsive Design Mode.
- Refresh the page and resize it if needed, as the screen will resemble the mobile screen.
- Use the upload button or camera to start posting on Instagram.
Read More: How To Download Instagram Stories Using Story Savers
3. Post on Instagram Using Scheduling Tools
If you want to save your time, then using a scheduling tool can be of great help as you can post photos and videos in bulk and streamline the schedule of postings by letting the tool take care of everything while you sit back and relax. The tool can also help you post from your PC or Mac.
Hopper HQ
You need to pay a subscription charge as per the number of accounts to be managed to start from the below package:
| 1 Instagram + 1 Facebook account + 1 Twitter = $19/month or $16/month (for one time pay on an annual subscription). |
There are other payment packages, as well. You can initially opt for a 14-day trial too.
The following steps will illustrate the details of how the tool works:
- You need to create an account first.
- Once you log in, click on “Create Posts” located at the top left corner. You can upload up to 50 videos or photos. You can also add photos from Dropbox, Google Drive, Google Photos, Box, URL, or even web search if you are using your PC or Mac to post.
- You can resize and edit your pictures, as well.
- Further, you can caption them accordingly as well as add the first comments for your hashtags.
- Select the “Post Now” option or choose a preferred time. You can also save a draft version. You can choose to post to another Instagram account, Facebook, or Twitter by clicking the plus icon on the right side of the post. This will help to add the accounts to which you want the tool to post the photos and videos.
- The dashboard will now show the scheduled posts in the order in which they would be published. You can remove a post if you don’t want the tool to post it by dragging and dropping it from the dashboard. You can also use the Grid Planner that will display how the scheduled posts will look on the Instagram page.
- There is also a calendar view available that can keep track of the postings.
- The Analytics feature helps you monitor the success level of the postings and also provides information about the audience demographics.
Read More: Best Duplicate Picture Finder and Remover Tool
4. Post on Instagram Using Facebook Creator Studio
Launched in August 2019, to facilitate Instagram post scheduling from a PC, if a user has a business profile on Instagram that is linked to a Facebook account page.
- The most exciting and unique feature is that the Facebook Creator Studio helps in scheduling and posting IGTV videos.
- Facebook Creator Studio applies restrictions on uploading multiple posts.
- Another limitation of using the Facebook Creator Studio is that once posts are scheduled, then they can no longer be edited.
Read More: How To Start An Instagram Business? 10 Simple Ways
5. Post on Instagram Using Emulator Apps and Third-Party Tools
You can download these third-party apps on your computer to post on Instagram from your computer.
Bluestacks
- This is an Android emulator app available for free use to post on Instagram from your PC and Mac. There is no additional feature of managing bulk uploads or multiple accounts.
- Download the app from your Windows Store and log in using your Gmail credentials.
- Search for Instagram in the search bar and install the app.
- Upload the content into the Media Manager.
- Open Instagram and start posting. The appearance of the app will resemble the mobile app view.
Deskgram
- You can use this app to post on Instagram from your Windows PC or Mac. This app will let you use Instagram, just like your mobile phone.
- The app is priced at $2.99 monthly to upload posts. The free version doesn’t support uploading photos but only browsing.
- Posting videos is not supported on Windows, but on Mac, you can post photos as well as videos.
- There is no provision for bulk uploads too.
- You can edit photos and videos, trim video length, link other accounts in posts, and facilitates hashtag search.
From this article, you have not only learned about the various methods that you can use to post on Instagram from your PC or Mac but also came across information about tools that can help you in scheduling and managing multiple posts on your behalf to save your time.
This may prove to be very useful for photographers and artists who often have to post in bulk regularly to increase their popularity. Also, professional photographers often tend to store the photos from their photoshoots on their computers from their cameras due to the higher storage capacity of the computers in comparison to smartphones. Thus, transferring photos from computers to phones might seem like a cumbersome process to facilitate posting on Instagram. Hence, direct posting options from PC or Mac can save them loads of time and effort.


