How To Fix Brightness Control Not Working on Windows 10

A detailed guide on how to fix Brightness control not working on Windows 10. Here you will find various potential solutions for this problem. Continue reading!
Having the display set to the appropriate level of brightness is essential while working with a computer. A decent monitor is essential for a variety of activities, including working, watching movies, playing video games, and making art.
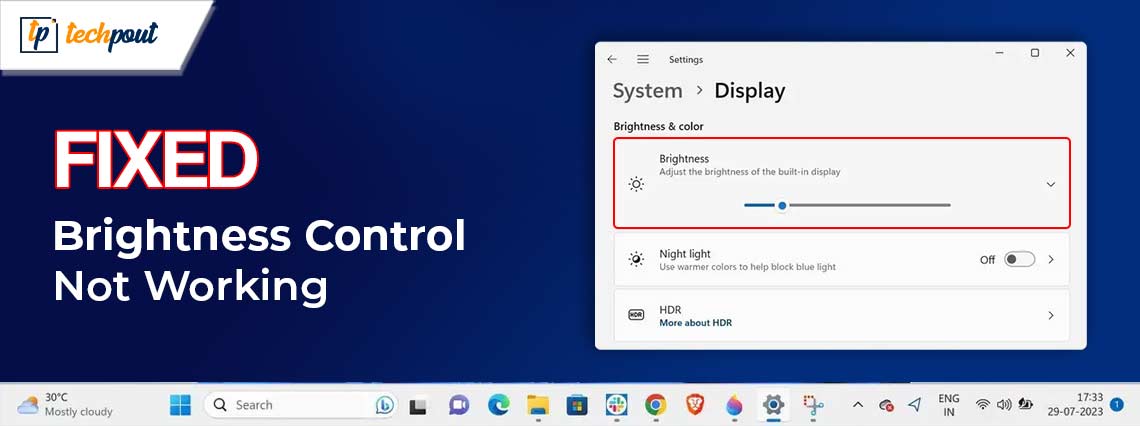
To what extent do you make use of features like Night Shift, which adjust the brightness of your display in accordance with the lighting conditions of your surroundings? These all depend on the brightness control of your monitor. However, a significant number of Windows 10 PC users have reported that the brightness slider does not function properly on their computers. This may indicate that the control has completely vanished, or it may just indicate that it is unable to modify the brightness of the display at all.
To help you with this, we have prepared a list of different approaches that might assist you in resolving brightness control not working on Windows 10.
How to Fix Brightness Control Not Working on Windows 10, 11
Listed below are potential solutions that worked for other users to fix Windows 10 brightness control not working.
Fix 1: Update Outdated Display Driver
Issues like brightness control not working on Windows 10 majorly occur due to outdated, broken, or missing display drivers. Therefore, to avoid such issues, you need to make sure that your display drivers as well as other system drivers are up-to-date.
There are two ways to update outdated drivers i.e., either manually or automatically. You may manually update your display driver by visiting the website of the manufacturer of your display card and looking for the latest and right driver. Make sure that you only choose drivers that are compatible with the version of Windows that you are using.
You may use Win Riser Driver Updater to perform an automated driver update if you do not have the time, patience, or computer skills necessary to manually update your display driver. Win Riser Driver Updater is a dedicated utility tool that automatically detects your system and finds the most suitable and new drivers for it. Moreover, Win Riser comes with an in-built backup and restore utility tool that lets you create a backup of current drivers before updating so that you can restore the older version of drivers if needed. And, Win Riser is capable of updating all outdated drivers in a go, thanks to its single-click driver update feature.
Now, just have a look at the steps below to automatically install display driver updates via Win Riser Driver Updater:
- Download and install Win Riser from the button below.

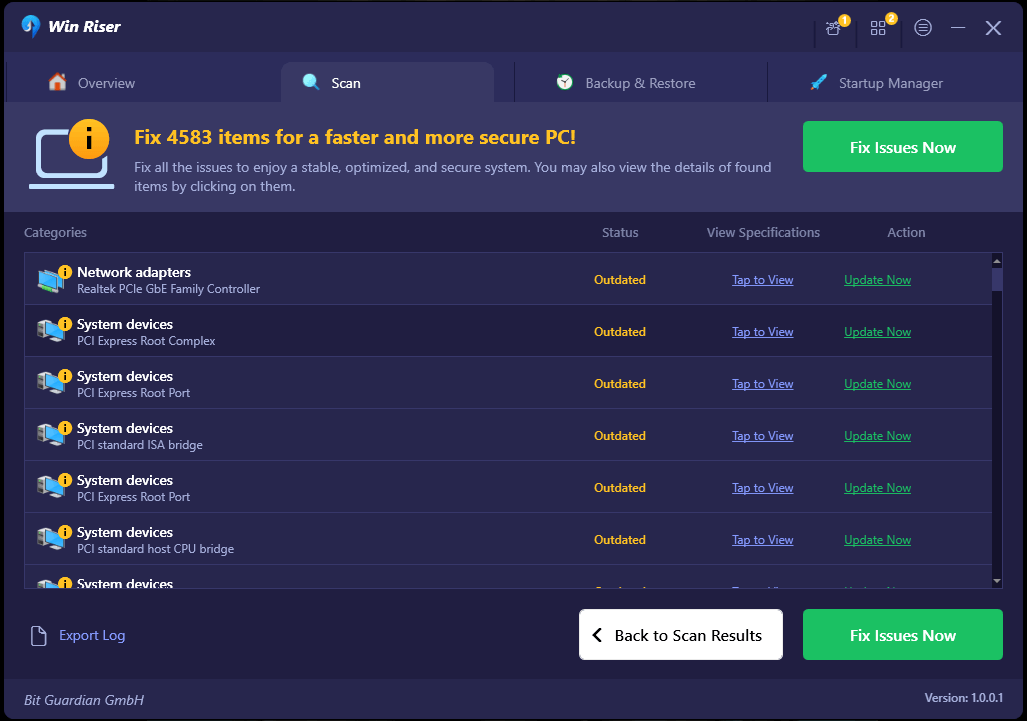
- Once successfully downloaded, launch Win Riser Driver Updater on your device and wait for it to deeply scan your PC for problematic and outdated drivers.
- After scanning, the utility provides you with a detailed list of drivers that need to be updated.
- Check the scan results and simply click on the Fix Issues Now button.

This will install all the available drivers in one click including display drivers. Once everything is done, reboot your computer so that new drivers take effect.
Also Read: Best Free Brightness Control Software for Windows 10, 11
Fix 2: Turning On Adaptive Brightness Feature
There is a possibility that activating the Adaptive Brightness function in Windows 10 can assist you in resolving issues like brightness control not working properly. This function makes use of light sensors to alter the brightness of your display in accordance with the environment in which you are currently located.
Adaptive Brightness is a feature that is available on the majority of modern computers, tablets, and smartphones. If your smartphone is equipped with these light sensors, you may activate the function by following the instructions that are outlined below.
- You may launch the Settings application by simultaneously hitting the Windows key + the I key on your keyboard.
- Then, click System.
- Now, access the Power & Sleep menu, and choose it from the menu available on the left.
- After that, scroll down until you see the Additional Power Settings option and click on it.
- Examine the plan that you are now using, and then click the Change Plan Settings option available beside it.
- Click on the Change Advanced Power Settings option to proceed.
- Next, scroll down and choose the Display option. In order to expand its section click the ‘+’ icon.
- Locate Enable Adaptive Brightness option and switch the toggle button to On.
- To apply new settings, click on Apply and then OK.
Lastly, reboot your system to test if the issue persists. If you still run into Windows 10 brightness control not working, try another fix.
Also Read: How To Change Windows 10 Display Brightness – Step by Step
Fix 3: Utilizing Microsoft’s Basic Display Adapter Software
In order to fix the brightness control not working on Windows 10, 11, you can also try to use Microsoft’s default display adapter software. This is our last resort. Here is how:
- Go to Start menu and click right on it. Then, choose Device Manager from all available options.
- On Device Manager, locate and double-click on Display Adapters.
- Right-click the Display Adapter driver and choose the Update Driver option from the context menu list.
- Next, select Browse my computer for driver software.
- After that, go to the ‘Let me pick from a list of drivers on my computer’ option and click on it.
- Next, find and click on Microsoft Basic Display Adapter. Click on Next to proceed.
Here is Quick Guide to Fix Microsoft Basic Display Adapter Issue in Windows 10, 11
Your machine running Windows 10 will now install the Microsoft Basic Display Adapter driver. After the process is finished, restart your computer and make another attempt to change the brightness; the problem should be resolved at this point.
Also Read: Best Laptop Battery Testing Software for Windows 10
Brightness Control Not Working on Windows 10: Fixed
So, the above shared were some of the tried and tested solutions to resolve the Brightness control not working on Windows 10. Using either of the following will certainly help you resolve the problem. If you liked the troubleshooting tips & tricks shared in this write-up, then subscribe to our Newsletter to read more informative articles, review guides, how-tos, etc. In addition to this, you can also follow us on Social Media (Facebook, Pinterest, Twitter, & Instagram) so you never miss an update.
Lastly, please feel free to drop your queries, doubts, or further suggestions in the comments section below.


