An easy & precise tutorial on how to fix the last USB device you connected to this computer malfunctioned error in Windows 10.
Does your PC fail to recognize the USB device and show an error message reading that the last USB device you connected to this computer malfunctioned? If yes, then nothing to worry about, you are not all alone. There are numerous users out there who recently complained about the same error. But the good news is the issue can be solved, easily & quickly. To help you in this, we have created this troubleshooting guide highlighting the most potential solutions to fix the error and make your malfunctioned USB device work again.
How to Fix The Last USB Device You Connected to this Computer Malfunctioned Error in Windows 10
If you are getting an error message saying, “the USB device connected to this computer has malfunctioned and Windows does not recognize it”. Then, try the below-listed solutions to fix the error, hassle-free.
Solution 1: Reconnecting your USB Device
When you run into the last USB device malfunctioned Windows 10 error, then try to disconnect your corrupted USB device from your PC and connect it again in order to resolve the error. This might work. But, if not, then move on to another solution.
Solution 2: Disabling USB Selective Suspend Settings
USB Selective Suspend Settings may be a reason behind this error. To resolve this, you can try disabling the USB Selective Suspend Settings on Windows PC. In order to do so, you need to follow the steps shared below:
Step 1: Click right on the Start menu button also known as the Windows icon and select Power Options.
Step 2: Then, make a click on the Change plan settings.
Step 3: In the next window, click on the Change advanced power settings.
Step 4: After that, double-click on the USB settings to expand it.
Step 5: Next, expand the USB selective suspend setting by making a double click on it.
Step 6: From the drop-down menu, choose Disabled.
Step 7: Lastly, click on Apply and OK to save the new changes.
Once you have completed the above steps, then restart your computer system and test the issue. If the last USB device you connected malfunctioned error persists, then try other solutions.
Also Read: Microsoft USB 3.1 Driver Download, Install, and Update on Windows
Solution 3: Remove the Power Supply
Another way to get rid of the last USB device malfunctioned Windows 10 error is removing the power supply plug from your PC. To do so, one needs to follow the simple steps shared below:
Step 1: Take out your Power Supply plug from your system and start your PC again.
Step 2: After that, re-try to connect the USB device to your system through a USB port.
Step 3: Once your USB device is firmly connected to your computer system, then you can plug in the Power Supply again to your PC.
Once it’s done, check if the last USB device you connected to this computer malfunctioned error on Windows 10 PC fixed. If not, move on to the next fix.
Solution 4: Updating the USB Drivers
If you are using outdated, faulty, or broken USB drivers, then you may get this error. Hence, to fix it, you need to update your USB drivers to their newest versions.
You can update your USB drivers either manually from the official website of the PC manufacturer or using any third-party driver updating tool like Bit Driver Updater.
Since performing the driver download task manually is a bit time-consuming and error-prone, especially for newbies. Therefore, we recommend you do this task hassle-free with Bit Driver Updater.
Bit Driver Updater is an excellent solution for updating drivers on Windows PC. The software automatically recognizes your PC and finds the most compatible drivers for it. Not only that but the driver updater utility also speeds up the overall PC performance. To use Bit Driver Updater, follow the steps below:
Step 1: First of all, download and install Bit Driver Updater by clicking on the button given below.

Step 2: Launch Bit Driver Updater on your computer system and click on Scan from the left panel.
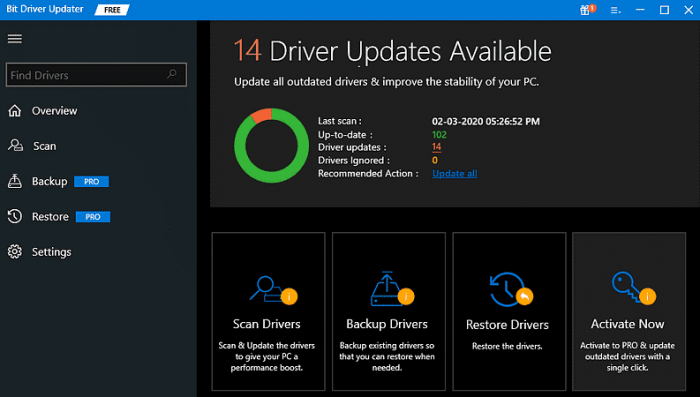
Step 3: Wait until the driver updater utility scans your PC completely and provides you with a list of drivers that need to be updated.
Step 4: From the list, find an outdated USB driver and click on the Update Now button shown next to it. If you want to update all outdated drivers in one click then you need to click on the Update All button instead.
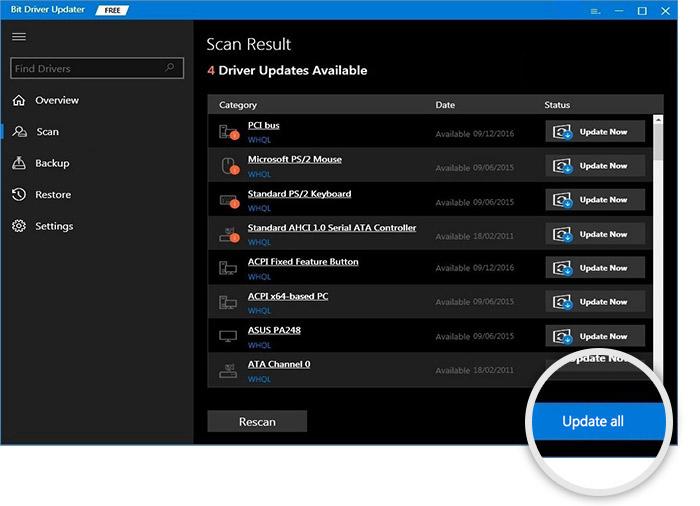
However, in order to use one-click driver update functionality, you need to rely on the Bit Driver Updater’s pro version. Its pro version comes with complete technical support and a 60-days full money-back policy.
Also Read: USB 3.0 Driver Download and Update for Windows 10, 8, 7 {Quick Tips}
Closing Words
We hope one of the above-discussed resolutions has helped you resolve the last USB device you connected to this computer malfunctioned error on Windows 10 PC.
Please let us know in the comments below if you need any further assistance. If you have liked this troubleshooting guide, and want to read more informative write-ups, then do subscribe to our Newsletter. Lastly, follow us on Facebook, Twitter, Instagram, and Pinterest.