How to Turn On Subtitles on Netflix [Latest 2024 Guide]
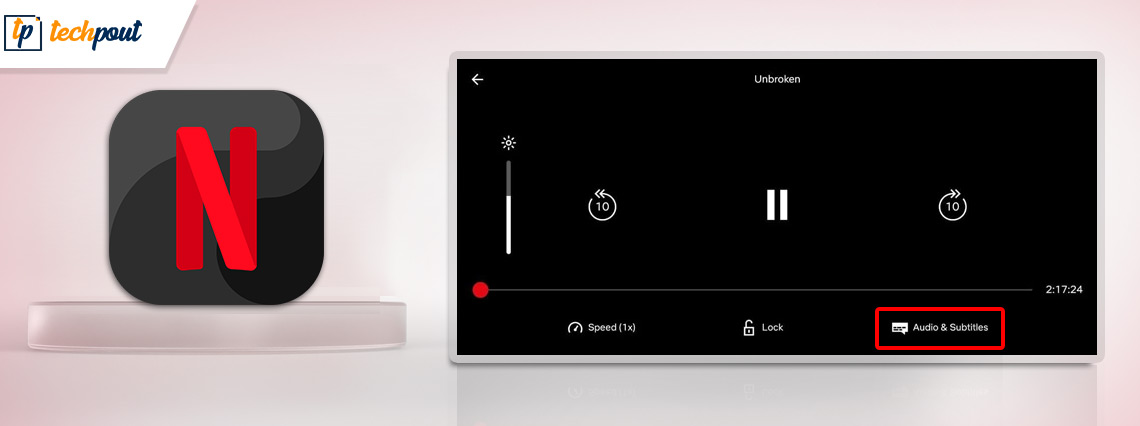
The American service Netflix is widely used for streaming movies and shows. Moreover, the Netflix Originals content is specifically available on this platform only. As the user base of the platform is spread across the globe, it has content in different languages. The huge library of films and TV shows can be accessed through your desktop browsers or with mobile apps. Also, with recent technology developments, Smart TVs have also made it simpler to access Netflix and enjoy your favorite shows.
As the company began its expansion in international productions in the year 2017 the need for subtitles emerged more. Since the users were from different sections of the world, subtitles were a connecting medium to enjoy the art of different countries.
However, some of the users faced issues while turning on subtitles on their devices. If you are here in the search of solutions for the same issue, we got it covered for you. The guide below mentions several methods to turn on subtitles on Netflix. We have specified the steps for different options too so choose the one that fits well with your requirements.
Ways to Turn On Subtitles On Netflix
With the help of the following methods, you can turn on or off the subtitles on your Netflix. Choose the option depending on the platform you are using to stream Netflix.
Way 1: Turn on Subtitles on Netflix on the Web Browser
Most users are dependent on web browsers to stream Netflix is shown on their devices. Given below are the steps to turn on subtitles on Netflix on your desktop.
Step 1: Open the Browser and in the address bar type www.netflix.com.
Netflix is supported by the common web browser applications that include Google Chrome, Safari, Mozilla Firefox, Microsoft Edge, etc.
Step 2: Click on the show or movie you wish to watch. If it is not available under the Trending or Top category search for it in the search address bar.
Step 3: Click on the movie and make sure the video is active.
Step 4: Begin the movie or show with the Play button.
Step 5: Hover your cursor over the panel with multiple options. Click on the Subtitles icon.![]()
Step 6: Choose the Audio & Subtitle Settings. Turn on the Subtitles. Select language for Subtitles under the Audio.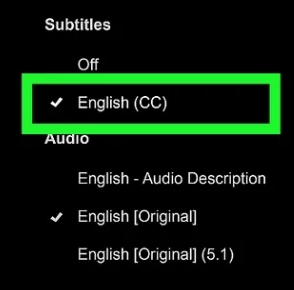
Also Read: How to Fix Netflix Keeps Buffering Issue
Way 2: Turn on Subtitles on Netflix on Mobile App
To stream Netflix anywhere and on the go a higher percentage of users prefer mobile applications for Netflix. If you are also amongst them, here is how to enable subtitles on your mobile device while enjoying your favorite movies or shows on Netflix.
Step 1: Launch the Netflix app on your mobile phone.
Step 2: In the search bar find the desired show or movie that you are interested in watching.
Step 3: Click on it to open and then press the Play button to start watching.
Step 4: Tap anywhere on your screen and click on the Subtitle icon.![]()
Step 5: Choose the language and Enable Subtitles.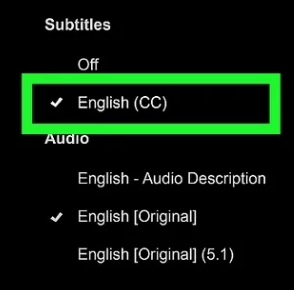
Way 3: Turn on Subtitles on Netflix on your Streaming Device/ Game Console
Multiple users have been using Netflix on their Gaming consoles and streaming devices. If you are using your Smart TV, Fire Stick, Xbox, Chromecast, Playstation or other similar devices here are the simple steps to follow in order to turn on Subtitles on Netflix.
Step 1: Open the Netflix app from your library of applications.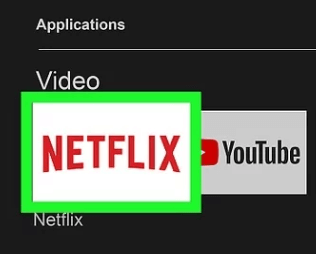
Step 2: Choose the desired movie or show from the list or search for it in the Search bar at the top.
Step 3: Click on the Play button on the next window to start the show.
Step 4: Use your device’s remote to move down the window to the toolbar that consists of settings.
Step 5: In the bottom right of the screen press the Audio and Subtitles icon which is similar to a chat box.![]()
Step 6: Turn on the subtitles and choose Audio.
Also Read: Netflix App Not Working On Windows 10
Way 4: Turn on Subtitles on Netflix on Apple TV
Netflix is platform-independent and is available for different operating systems too. So if you are using Netflix on our Apple TV or other Apple devices here are the steps to be followed to turn on subtitles.
Step 1: From the app gallery on your Apple TV click on the Netflix app to launch it. Also, check if the Apple TV on your device is configured properly.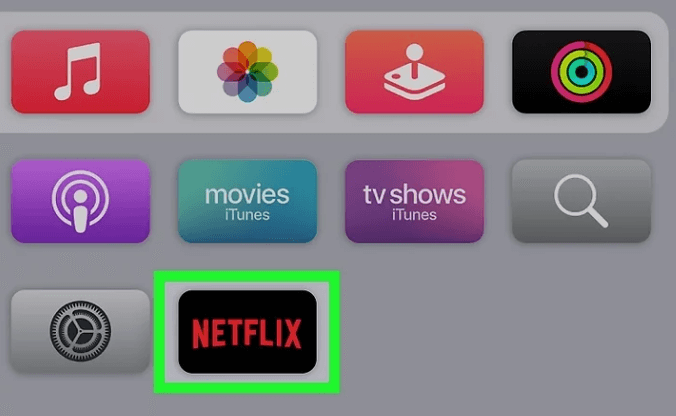
Step 2: Search for the TV show or Movie that you wish to watch. Make sure the video is active to turn on subtitles.
Step 3: Begin the show or movie using the Play button under the Introduction.
Step 4: Use the Apple remote to move down to the screen and in the pop-up window click on the Subtitles tab.
Step 5: Select the language for the subtitles.
Also Read: How to Protect Your Netflix Profile Using a PIN Code
Turn on Subtitles in Netflix: DONE
Hopefully, the above article helped you turn on subtitles on Netflix. With subtitles on you can enjoy Korean, Japanese, and other dramas without any interruptions. Additionally, subtitles can also help you improve your vocabulary.
Have any questions? Feel free to connect with us through the comment section below. Also, for more technical guides, tutorials, and how-to write-ups subscribe to our blog. Moreover, to never miss any updates make sure you follow us on our social channels i.e Facebook, Twitter, Instagram, and Pinterest.
