A complete tutorial on how to fix Requested Operation Requires Elevation error on Windows PC. Read the entire article for further details.
In the recent survey, we found that numerous Windows PC users run into an error preventing them from accessing files or folders from any external hard drive. In addition to this, it can be more troublesome when you don’t know what the error is and how to get rid of it.
However, not to worry, after reading this article, you will be able to deal with this annoying issue. Because, in this article, we have explained numerous easy ways to fix this issue. But, before we roll forward towards the solution. We would like to introduce you to the Requested Operation Requires Elevation Windows 10.
What is Requested Operation Requires Elevation Error in Windows PC?
This error message means the user can only be able to gain access to the file or folder if you receive the elevated permission of a local administrator. Therefore, to fix this inconvenience, you have to alter the drive’s ownership, which you want to access. In simple terms, if you face this error, you won’t be able to access the files/folders or launch a program from any external storage device.
Most Workable Solutions to fix Requested Operation Requires Elevation Error in Windows 10, 8, 7
The error is most annoying though but at the same time, it is solvable too. With the help of effective yet convenient solutions suggested below, you can fix Requested Operation Requires Elevation Windows 10 hassle-free. Let’s read them!
Solution 1: Run a Program as Administrator
The issue can be fixed by running the program under administrative privileges. Below are the simple steps to open the program as an administrator.
Step 1: Navigate to the program you wish to run and right-click on it.
Step 2: Then, choose Properties from the context menu list.

Step 3: Head to the compatibility tab.
Step 4: After this, tickmark the box shown before Run this Program as an administrator.

Step 5: Now, make a click on Apply and then OK.
Step 6: Restart the computer.
Once the computer restarted, then try to open the application just to check whether the requested operation requires elevation Windows 10 fixed or not.
Also Read: How to Get Help in Windows 10 [Complete Guide]
Solution 2: Update your Device Drivers
Outdated device drivers are the common issue for all the major problems or errors in Windows PC. Hence, you should update your device drivers from time to time. The user can do it manually as well as automatically. But, if you have no technical expertise and sufficient time then, the manual method can be error-prone for you. So, we advise you to use Bit Driver Updater to automatically download and install the most genuine drivers.
It is the best driver updater tool that can be an ideal solution for fixing all the faulty drivers with just a single click of the mouse. Not only that but with this driver updater, you can get rid of numerous Windows-related issues like frequent failures, BSOD errors, and so on.
Here are the steps you will need to follow to update outdated drivers via Bit Driver Updater:
Step 1: Download Bit Driver Updater from the button shared below.

Step 2: Double click the downloaded file and follow the onscreen instructions to get the Bit Driver Updater installed on your computer.
Step 3: After this, launch the software and let it scan your system for outdated, broken, or faulty device drivers.
Step 4: Once the scanning is done, Bit Driver Updater prompts with a detailed list of outdated or faulty drivers. Check the list and click on the Update Now button beside the driver you wish to update.
Step 5: And, if you have the pro version of the software then you can update all outdated drivers with one click of the mouse. For this, you need to make a click on the Update All button instead.

That’s it! Once the latest drivers are installed then try to open the program and check if the requested operation requires elevation Windows 10 installing software problems fixed. Unfortunately, if not, then don’t worry, just shift to the other solutions mentioned below.
Note: The pro version of Bit Driver Updater offers 24/7 technical assistance to its users. Also, the software automatically backs up the currently installed drivers before updating them. So, if any mishappening occurs then they can be restored easily. Therefore, we urge you to use the pro version of Bit Driver Updater to use all its features completely.
Also Read: How To Fix Error Code 0x800f0988 In Windows 10
Solution 3: Try to Disable UAC
If in case, the above solution doesn’t work for you, then try this hack. Sometimes, you face the requested operation requires elevation problem because of the faulty UAC settings. So, if that is the case, then follow the steps below to disable the UAC (User Account Control) settings.
Step 1: Go to the search bar of your Windows, and type Change User Account Settings, then select the suitable match from the searched results.
Step 2: The above steps take you to the User Account Control settings.
Step 3: Wherein, you will see a slider in between Always Notify and Never Notify.
Step 4: Swipe the slider down to the Never Notify and then click on the OK option.

Step 5: Lastly, reboot your computer.
Now, try to access the file from the external drive just to see if the requested operation requires elevation Windows 10 solved. If the issue persists, move on to the next solution.
Also Read: How to Fix DNS_PROBE_FNISHED_BAD_CONFIG Error on Windows 10
Solution 4: Modify the Folder Permission
Another way to deal with this problem is by modifying the folder permissions. Many PC users reported that changing the folder permissions can fix this inconvenience. All you need to do is just follow the steps below:
Step 1: Locate the folder that has an issue, then click right on it. Thereafter, choose the Properties from the list.
Step 2: Later on, make a switch to the security option and click on the Advanced option.

Step 3: The above step will take you to the Advanced Security Settings window, where you need to check the last box.

Step 4: After this, click on the Apply and then OK option.
Now, reboot your computer and try to access the files on your external storage media just to check whether the requested operation requires elevation in Windows 10 fixed or not.
Also Read: How to Fix System Service Exception BSOD error on Windows 10
Solution 5: Verify the Security Options in GPE
If none of the above solutions makes your external hard drive work properly on your PC, then checking and changing security options in GPE (Group Policy Editor) can help. To do so, you have to switch off the elevate in GPE. Here is how to do that with simple steps:
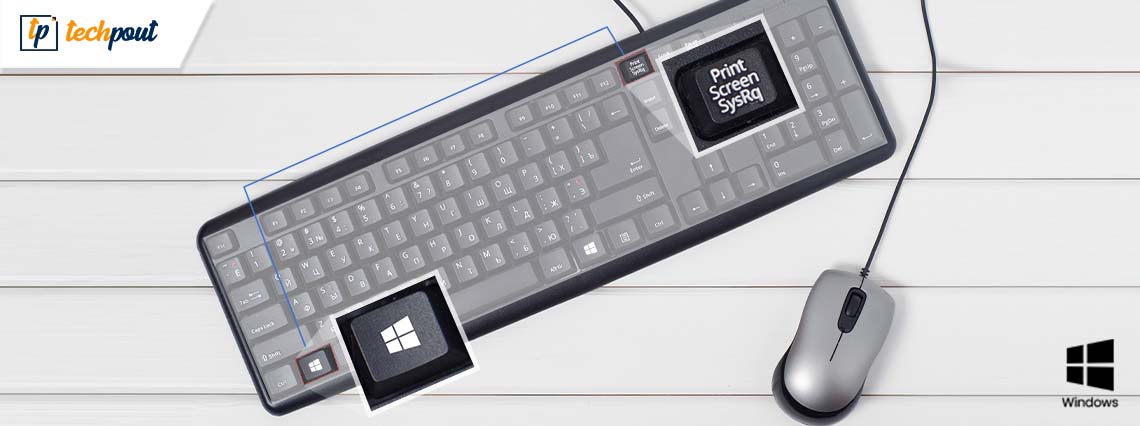
Step 1: Launch the Run dialog box by pressing the Windows logo + R keys at the same time from your keyboard.
Step 2: Then, input gpedit.msc inside the Run box and click on the OK button or simply press Enter key from your keyboard.

Step 3: This will launch the Local Group Policy Editor. Now, you need to follow the following path:
Computer Configuration > Windows Settings > Security Settings > Local Policies > Security Options
Step 4: After this, locate the Security Options and click double on it.

Step 5: Now, in the next window, scroll down to User Account Control: Behavior of the elevation prompt for administrators in Admin Approval Mode.

Step 6: Next, click double on it to head over to its settings. Thereafter, from the local security settings options select Elevate without prompting from the drop-down menu list.
Step 7: Click Apply and OK.

The above procedure should fix the requested operation requires elevation installing software problem in Windows 10.
Also Read: [Fixed] “The Disk Is Write-protected” Error On Windows 10/8/7
Requested Operation Requires Elevation in Windows 10, 8, 7 PC: FIXED
So, these were some of the easy but effective solutions that can help you gain access to your files or folders from any external hard drive. We hope the aforementioned solutions help you to fix Requested Operation Requires Elevation in Windows 10.
Do let us know in the comments section below which solution worked for you. Also, drop a comment if you have any questions or suggestions.
In addition to this, do subscribe to our Newsletter for more tech-related stuff or blogs. For instant updates, you can also follow us on our Social Media handles: Facebook, Twitter, Instagram, or Pinterest.