This article shares the best possible solutions for the memory leak problem on Windows 11 and 10.
Users generally expect fast jet performance from Windows computers. However, to their dismay, many users have reported sluggish performance on their devices. If you are also concerned about slow applications and programs, or overall slow device performance, Windows 11 memory leak may be the reason for your problems.
Hence, this article discusses 2023’s Windows 11 memory leak issue in detail and the ways to fix it. Let us begin with understanding what this issue is.
What Is a Windows 10/Windows 11 Memory Leak
Memory leak in Windows is a situation where a process performs memory allocation from the paged or nonpaged pools. However, it does not free the memory. It makes your computer slow, and complete memory depletion may lead to failures.
However, before jumping to ways to fix Windows 11 or Windows 10 memory leak, it is crucial to ensure that it is the reason behind your problems. Hence, let us first look at how to check for this issue.
Steps to Identify Memory Leak
You can follow these steps to identify the Windows 10 or Windows 11 memory leak issue.
- Firstly, press Windows and R keys together to launch the Run box.
- In the Run box, input resmon and click on the OK button.

- Close all the applications currently running on your device. If the memory usage still remains high, your computer has a memory leak issue.
Now that you are sure your PC has a memory leak problem, let us look at the tried and tested solutions to this issue.
Ways to Fix Windows 10/Windows 11 Memory Leak Issue
You can apply the below solutions to get rid of the memory leak problem on Windows 11 and 10.
Fix 1: Restart your computer
Restarting the system clears the memory used by various programs and applications. Moreover, it also frees up the memory. Hence, before trying any complex solutions, you should restart your PC to fix the memory leak issue. Below is the process to do it.
- Firstly, press your keyboard’s Windows key.
- Now, select the Power icon from the Start menu’s lower right corner.
- Click on the Restart option when holding the Shift key.
- Wait until your computer restarts and the login screen appears.
- Input your password (if any) to launch your computer.
Also Read: How to Fix or Bypass This PC Can’t Run Windows 11 Issue
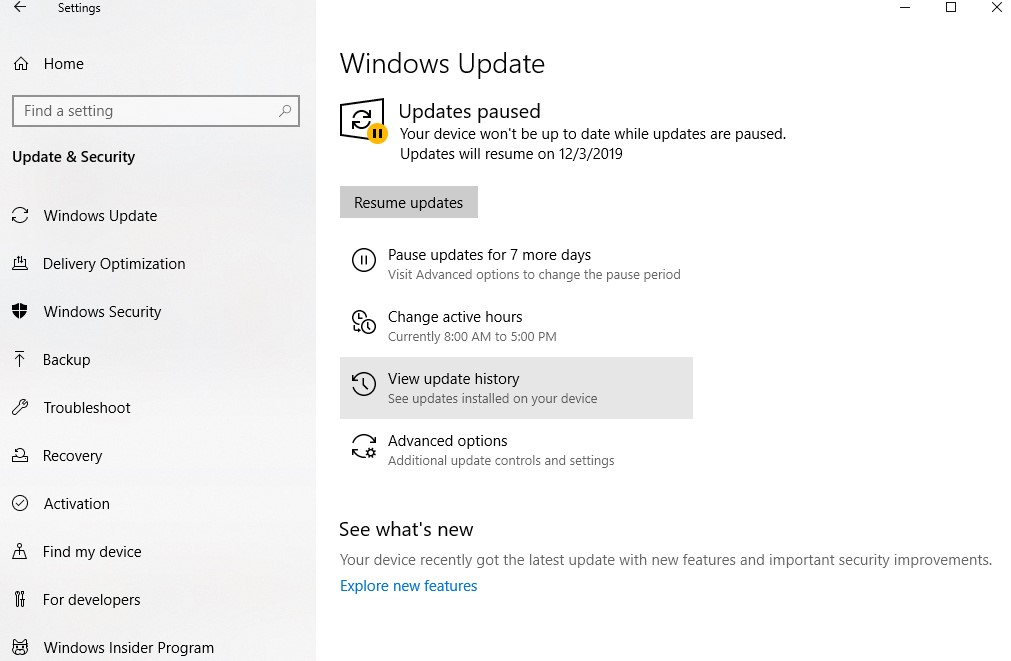
Fix 2: Update the OS of your computer
An outdated operating system may also be responsible for Windows 11 memory leak. Hence, you should download and install the available OS update to fix the issue. Following is the step-by-step way to do it.
- Launch the Settings app using the Windows+I keyboard shortcut.
- Choose Update & Security from the settings on your screen.

- Now, select the Check for updates option.

- Wait until the download and installation of the available update are complete.
- Finally, restart your computer.
Fix 3: Close applications and free up RAM manually
Though it is not the most practical option, closing the applications frees up RAM immediately. Hence, below is how to do it to fix Windows 11/Windows 10 memory leak.
- Firstly, right-click the taskbar and choose Task Manager from the context menu.
- Now, choose Memory from the top tab.
- After clicking on a program, choose End Task from the lower right corner.
- Now, you may get the new Microsoft PC Manager for efficient memory management.
Also Read: Icons Not Showing on Desktop in Windows 11/10
Fix 4: Close the File Explorer application
Windows 11 memory leak may also result from too many File Explorer applications open on your computer. Hence, you need to close the File Explorer window to fix the issue. Here is how to do it.
- Firstly, right-click on the File Explorer icon present on your taskbar.

- Now, click on the option to Close all Windows.
Fix 5: Launch the File Explorer window in a separate process
Making small changes such as launching File Explorer in a separate process can help fix memory leak on Windows 11/10 if you use the app frequently. Hence, below are the steps to do it.
- Firstly, use the Windows+E keyboard shortcut to launch the File Explorer application.
- Now, select the three dots from the menu bar and choose Options.
- Select View and scroll down the Advanced Settings.
- Click on the checkbox to Launch folder windows in a separate process.

- Lastly, click on the OK button to complete the process.
Also Read: How to Hide or See File Extension in Windows 11
Fix 6: Turn off the startup programs
Disabling unneeded startup programs frees up space on your computer and fixes RAM issues such as Windows 11 memory leak. Hence, below is how to disable the startup programs.
- Firstly, launch the Task Manager using the Ctrl+Shift+Esc keyboard shortcut.
- Now, navigate to the Startup tab.

- Right-click on the program you want to disable and click on the Disable option. Make sure that you disable the unidentified programs.

Fix 7: Check for memory issues on your computer
Windows 11 comes with an in-built Windows Memory Diagnostic tool to check and fix issues like memory leak. Therefore, you can follow these steps to use it.
- Firstly, press your keyboard’s Windows key and find tools.
- Now, select Windows Tools to view them.

- Now, launch the Windows Memory Diagnostic tool.

- Select Restart Now to restart your computer to find issues with the RAM.

- After entering the Windows Memory Diagnostics Tool window, let Windows perform the standard test.

- Now, you can press the F1 key on your keyboard to execute an advanced RAM test called Extended. You can navigate to the test using the tab key and select it using the F10 key.

- Wait for your PC to restart.
- After your computer restarts, press the Windows key, look for and open the Event Viewer.

- From Windows Logs, choose System Logs.
- Scroll down and select Memory Diagnostics-Results.

- Now, take a look at the results displayed on your screen.
- Replace the RAM if an error is detected.
- If no error is detected, you should try the next solution.
Also Read: How to Fix Run as Administrator Not Showing in Windows 11,10,7
Fix 8: Try increasing the virtual memory
Increasing the swap, i.e., the virtual memory’s size can fix Windows 11 memory leak if your physical memory is low. If you increase the virtual memory, Windows uses only a few sectors of the hard disk as the Random Access Memory (RAM). It prevents high RAM consumption. Hence, below is the series of steps to do it.
- Firstly, press the Windows button on your keyboard and find Advanced System.
- Now, select the option to View advanced system settings from the search results that appear.

- Select Settings from the Performance section of the System Properties window.

- Navigate to the Advanced tab and select Change from the Virtual Memory section.

- Uncheck the Automatically manage paging file size for all drives option.
- Select the Custom size option.
- Now, choose the recommended size as the initial size. Please note that the maximum size can be up to three times the size of the physical memory.
- Click on Set and OK.

- Lastly, restart your computer.
Also Read: [Fixed] Desktop Window Manager High GPU in Windows 10, 11
Windows 11 Memory Leak Fixed
In this article, we looked at various fixes for Windows 11 and Windows 10 memory leak problems. We hope this article helps you fix the issue.
If you have any better solution to this problem than the ones shared above, you can drop it in the comment section. Moreover, you can also write us a comment if you need more help solving this or other computer problems.