[FIXED] Last Line No Longer Available on iPhone 11, 12, or 13
![[FIXED] Last Line No Longer Available on iPhone 11, 12, or 13 [FIXED] Last Line No Longer Available on iPhone 11, 12, or 13](https://wpcontent.techpout.com/techpout/wp-content/uploads/2022/08/26233921/FIXED-Last-Line-No-Longer-Available-on-iPhone-11-12-or-13.jpg)
If you are also seeing the Last Line No Longer Available on iPhone 13/12/11 repeatedly, then check out the complete guide with the best and easiest fixes.
Last Line is a feature of the newer iOS updates that allows the user to make a call using the previously defined or the last line used to make a call previously. Hence, with the help of the feature, you don’t have to specify the line repeatedly to make the call. The feature is quite useful and allows you to save time and effort spent while making a call.
However, sometimes the feature fails to work properly as it can’t read the last line to dial a call. In such a case, you will see an iPhone message Last Line No Longer Available. This message is quite annoying as it stops the user from placing any call. However, there is nothing to worry about.
It’s very easy to fix the Last Line No Longer Available on iPhone 13 or any other device. The problem may appear due to one or the combination of two or more errors. Hence, you need to take care of all the factors so that the feature runs perfectly. And this is what we are here for.
In the coming sections of this article, we will have a look at the best ways to fix the errors related to the Last Line message. So, let’s proceed with the same below.
How to Fix Last Line No Longer Available on iPhone 11/12/13/13 pro
Now, it’s time we get rid of the annoying iPhone 12/iPhone 13 Last Line No Longer Available message. Follow the techniques provided below and fix the last line error with ease.
Method 1: Take the Help of Airplane Mode
The first and the easiest solution to fix the error Last Line No Longer Available on iPhone 13/12 is to turn on and off the Airplane Mode. This can help because the Airplane Mode will allow your network to reboot and fix the problem. Additionally, if you ever face any network-related errors, then Airplane Mode should be the go-to solution as it is very effective.
Follow the steps below to know how to turn on and off the Airplane Mode and fix the Last Line error:
- Swipe down at the top-right part of your screen to bring upon the Control Center.
- Tap on the switch with the Airplane Logo.
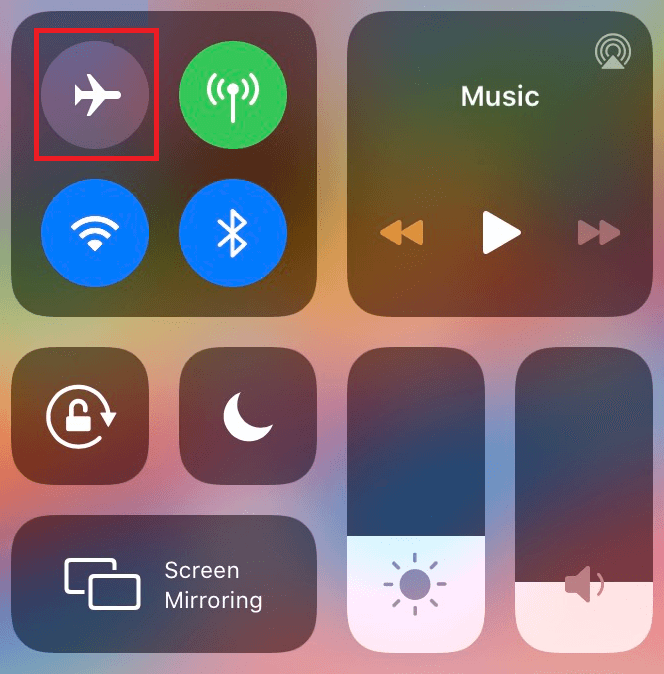
- Wait for a couple of seconds, around 10 would do the trick, and then tap on the Airplane Logo again to turn off the Airplane mode.
The above method will allow you to provide a fresh start to your network and fix all the related issues with ease. Now when you try calling from the preferred network, you won’t face Line No Longer Available on iPhone 13/iPhone 13 Pro.
Also Read: How to Customize iPhone/iPad Lock Screen
Method 2: Delete the Call History
The next thing that you can try if you face the iPhone Last Line No Longer Available error is to delete the entire call history. This may sound a bit bizarre but has worked for a lot of iPhone users, so we can’t rule out that it may not work for you. It’s worth a try. Follow the steps below to know how to delete the call history:
- Open the Phone app present on your iPhone and tap on Recents.

- Here you will see the entire recent call history. Tap on the Edit button present in the top-right corner of the app.

- All the call logs will automatically be selected on your device. All you need to do now is to tap on the Clear button present in the top-left corner of the interface.

- A pop-up will present itself. Tap on Clear All Recents to get rid of all the call logs.
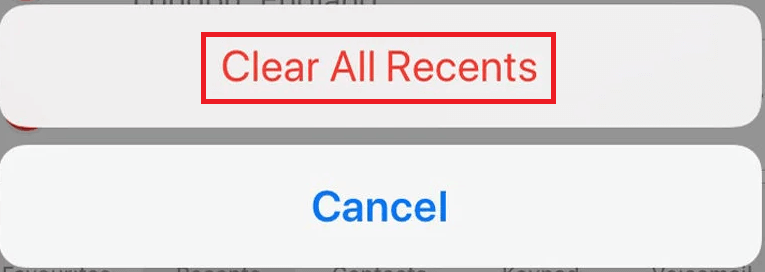
Wait while the system removes the entire call history. Now when you place a call on your device, you will not see the message stating Last Line No Longer Available on iPhone 12.
Method 3: Hard Reset your Device
If you are still getting the iPhone Last Line No Longer Available error message, then you can try hard resetting your phone. The procedure to do the same is quite easy. This method will easily work as force restart will allow your system to get rid of the cache and other unnecessary files. After this, your device will work just fine.
The process of hard resetting the device is pretty easy. Press the volume up button first, then the volume down, button, and lastly hold the power button. The Apple logo will appear on your screen and now you can leave the button.
The device will restart automatically after some time and fix the Last Line No Longer Available on iPhone 11/12.
Method 4: Toggle Off WiFi Calling
You know the Last Line No Longer Available on iPhone meaning as of now. Nextly, the WiFi calling feature may also be causing the problem on your device. So, to fix the error you should try toggling off the WiFi calling feature and see if the call is placed smoothly. Follow the below steps to know how to turn off the WiFi calling on iPhone:
- Open the Settings of your iPhone and tap on Phone.
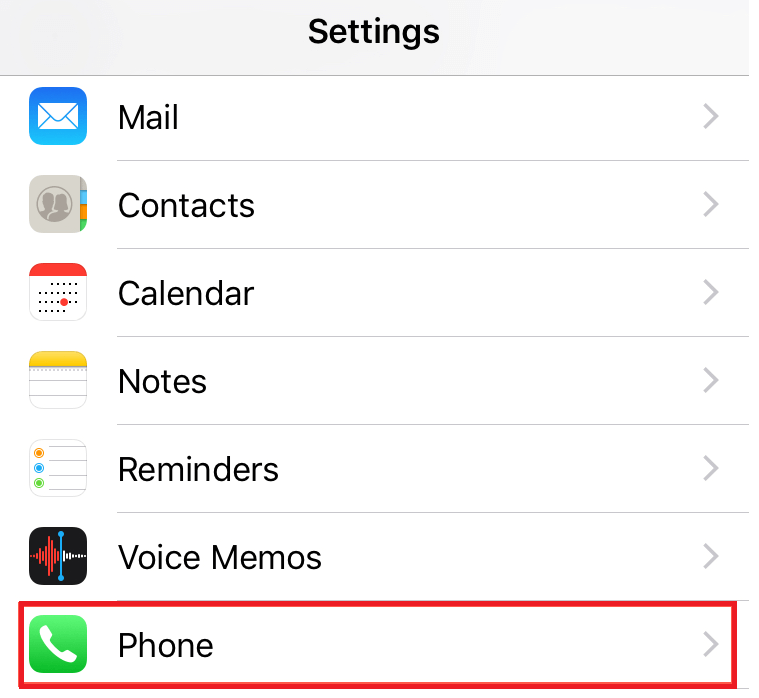
- Under the Calls category, tap on Wi-Fi Calling.
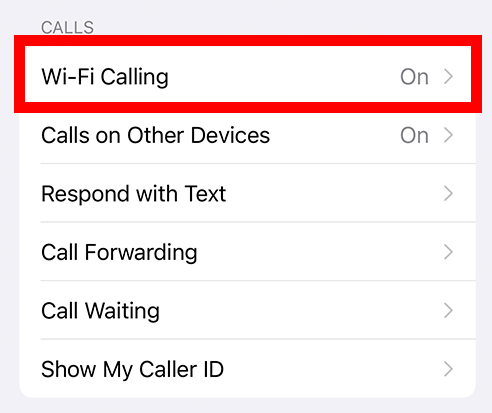
- Toggle off the settings named Wi-Fi Calling on This iPhone.
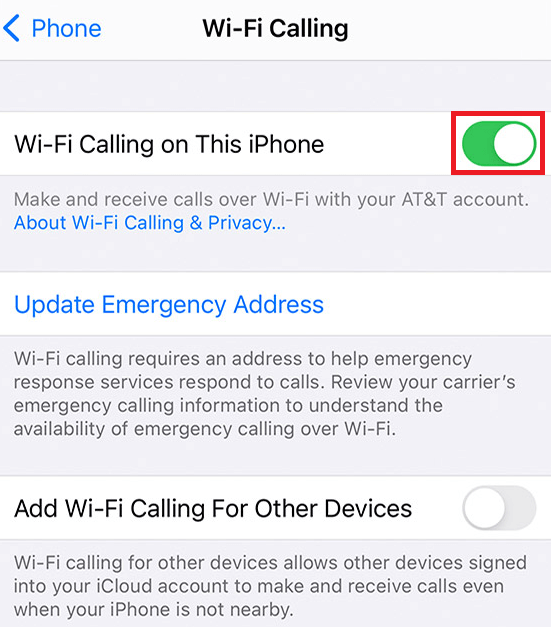
Now place a call as necessary and see if the problem persists. If you are seeing the iPhone Last Line No Longer Available error message, then head on to the next solution.
Also Read: iPhone/iPad Screen Won’t Rotate [Fixed]
Method 5: Switch to the Second SIM
The next solution to fix the Last Line No Longer Available on iPhone 13 Pro/iPhone 13 error is to switch the SIM. Here switching does not mean that you have to extract the SIMs and switch their SIM ports. You need to switch the network preferences to the other SIM to fix the error. Let us show you how it’s done right below:
- Open the Phone app on your device and tap on the i (info) button on any contact to place a call.
- Select the Alternate Number to place the call.
- If you are using the mobile number to make the call, tap on the Primary button and select the Secondary one.
Method 6: Install the Latest Carrier Settings
Faulty carrier settings of your iPhone can also result in the Last Line No Longer Available on iPhone 13/12. However, some carrier service providers release the latest settings with error fixes to fix the problem for you. So, you need to install the released settings using the device’s settings. Follow the steps below for ease:
- Open the Settings app on your iPhone.
- Scroll down to find the General settings.
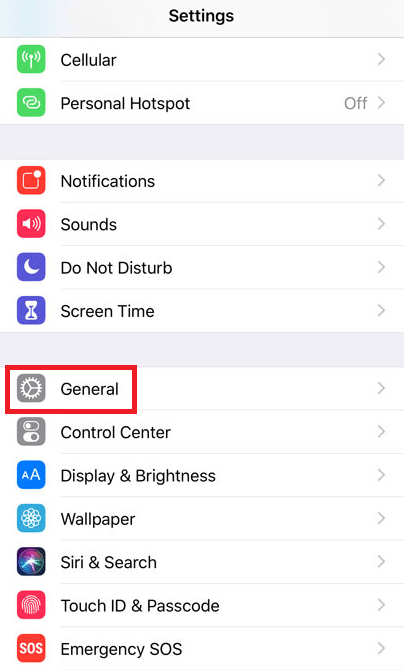
- Tap on the About section of the settings.
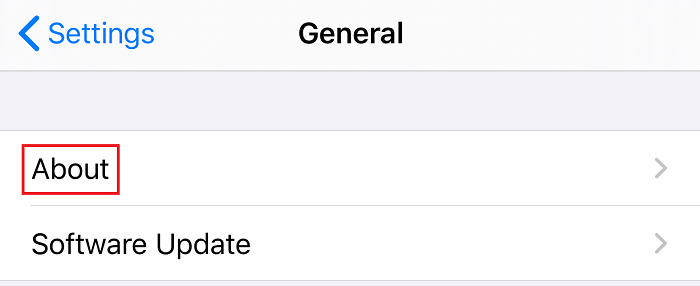
- Your system will alert you that the latest carrier settings will be installed on your device. Tap on the Update button to proceed.
This method will allow you to easily fix the iPhone Last Line No Longer Available error message. Try the next one if the problem persists.
Method 7: Manually Select The Network
Last Line No Longer Available on iPhone meaning is associated with network errors. So, you need to make some changes in the network to fix this error. You should try selecting a network manually to fix the error. Follow the steps shown below for the ease of selecting a network:
- Open the Settings of your iPhone.
- Tap on Mobile Data or Cellular.
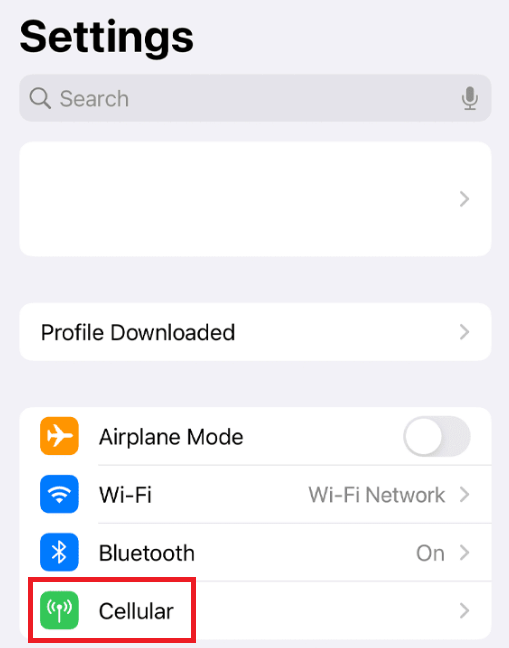
- Tap on the Network Selection or Carrier Services settings.
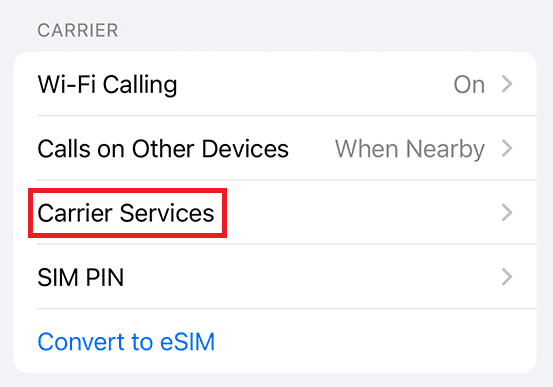
- Turn off the Automatic option and select the best network according to your device.
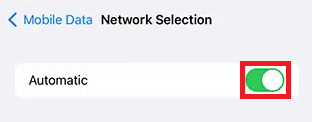
Hopefully, this method will fix the Last Line No Longer Available on iPhone 12 error. Follow the last solution provided below if the problem persists.
Method 8: Reset the Network Settings
Just as said previously, the Last Line No Longer Available on iPhone meaning must be clear by now. This problem is associated with network errors, hence the solutions are also related to the same. The last thing that you can try if the error persists is to Reset the Network Settings. Follow the below steps to know how to do this:
- Open the Settings app on your device.
- Tap on the General Settings button.

- Scroll down and tap on Reset.
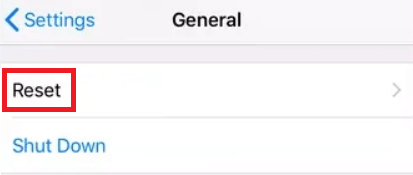
- From the options to reset different preferences, tap on Reset Network Settings.
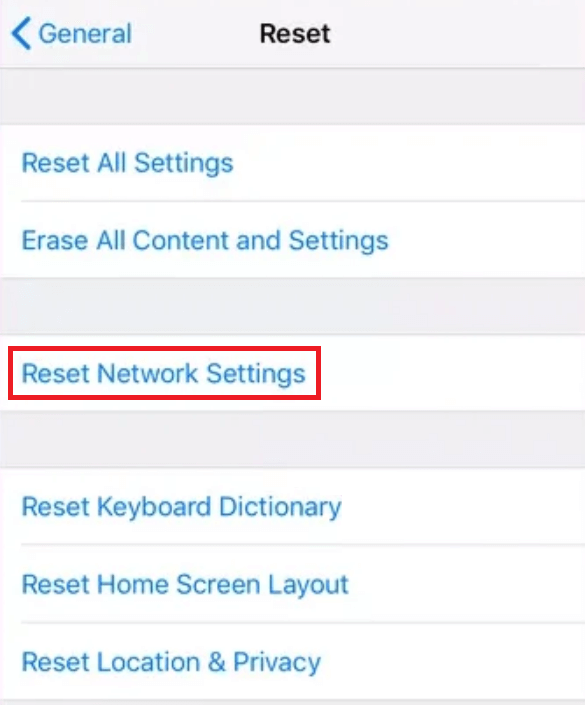
- Wait for some time and then try to place a call, you will not face the error again.
Also Read: How to Clear Storage on iPhone to Free Up the Space
iPhone Last Line No Longer Available: Fixed
So, in the previous sections of this write-up, we had a look at different methods to fix the Last Line No Longer Available error. All of the methods provided are quite easy to follow as well as readily work to fix the error. One or a combination of two or more solutions will surely work and fix all the network-related errors for you.
If you have any questions related to the Last Line No Longer Available on iPhone 13 Pro/iPhone 13/12/11, you can ask us the same in the comments section below. Write your queries or provide suggestions, if any. We will get back to you with the best solutions possible as soon as we can. Don’t forget to subscribe to our newsletter to get instant blog updates.
