How to Fix Bootrec/fixboot Access is Denied in Windows 11, 10
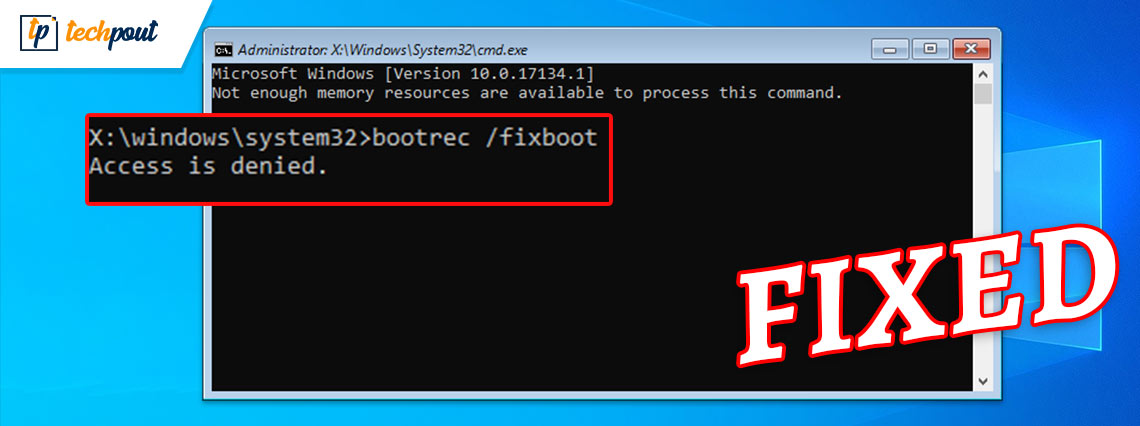
Read to know a few quick yet effective solutions to fix Bootrec/fixboot access is denied in Windows 11, 10
When accessing Command Prompt in order to resolve boot-related glitches & issues, it is common to encounter bootrec fixboot access denied error. There are numerous reasons for this error to occur on your Windows PC. However, it generally relates to the disk partitioning concept. The BSOD (Blue Screen of Error) INACCESSIBLE_BOOT_DEVICE error is likely to occur in two situations – either the Windows Upgrade has failed or you forcefully shut down your system while disk writing was still in process.
In order to fix such blue screen errors, you can execute the bootrec/fixboot command. While doing that, you might get an error message saying bootrec/fixboot access is denied. However, luckily, there are several fixes available to fix this issue. This comprehensive guide will help you understand and troubleshoot this error in the best possible way.
4 Easy Solutions to Fix Bootrec/fixboot Access is Denied in Windows 10, 11
In this section, you will learn about the potential solutions for fixing Bootrec/fixboot access denied error in Windows 11 and Windows 10 PC. Without further ado, let’s get started.
Solution 1: Try a GPT Drive
This tactic is ideal for resolving bootrec/fixboot access denied in Windows 10 and 11. Although, you’ll require a GPT drive and Windows Installation Media for it to work properly. You can effortlessly design the latter on a standard computer. For further assistance, you can even use Windows Media Creation Tool.
Thereafter, insert a USB with at least a minimum free space of 8GB. Then, restart your computer system, and activate it. To proceed, follow the steps outlined below:
Step 1: Choose the default settings for the installation language, time & currency format, and the input approach from the initial Windows screen. After that, at the bottom of your computer screen, you will see an option called Repair your computer, select it.
Step 2: Choose Troubleshoot, and then click on Advanced Options. Next, select Command Prompt from the drop-down menu.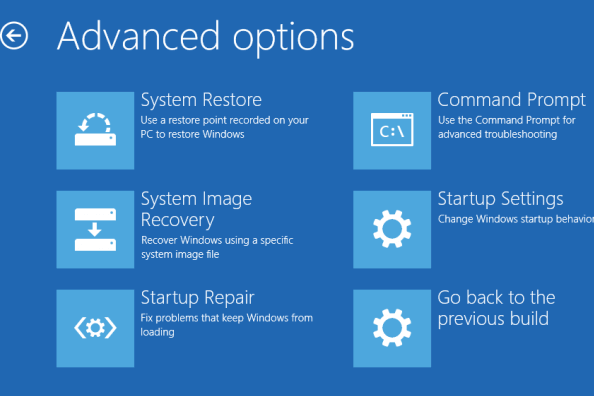
Step 3: In the next window, type diskpart and hit the Enter key on your keyboard.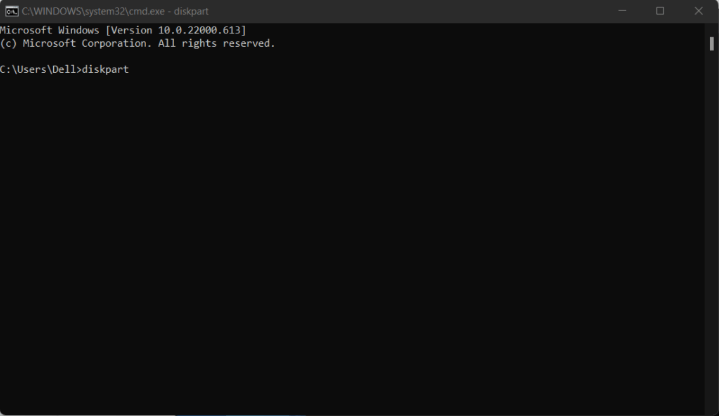
Step 4: Hit Enter after indexing the list disk. Now, just take a glance at the disk numbers and determine the boot disk. It is generally Disk 0. You can alternatively search out the disk number and ensure you input it precisely in the following stages.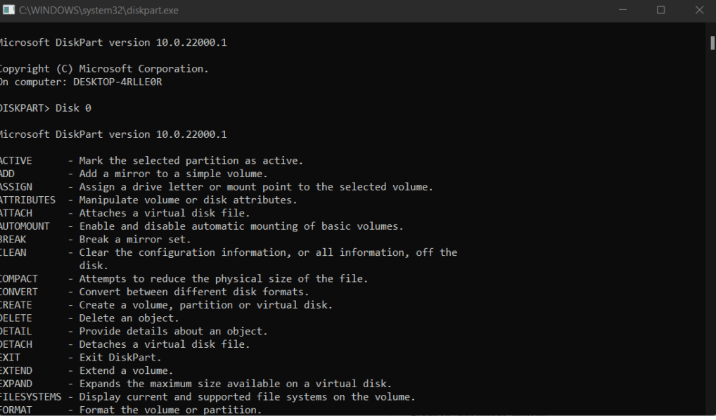
Step 5: From the search box, select Disk 0 and hit Enter after typing the volume of the list. Do remember the EFI partitions’ volume number this time. Thereafter, pick Volume N and press Enter, or whichever is appropriate in your case.
Step 6: Then, type Assign letter=N: and press Enter to proceed. You can also replace any drive letter not accessed by a partition for N:.
Step 7: Next, input Exit. Hit Enter and write N:.
Step 8: Press Enter after writing format N: /FS:FAT32. Type bcdboot C:windows /s N: /f UEFI.
Thus, Windows 10 fixboot access denied error should be resolved. However, if the issue persists, move on to the next solutions.
Also Read: Fix: nvlddmkm.sys Failed Error on Windows
Solution 2: Try Startup Repair
Another way to fix bootrec/fixboot access denied in Windows 11, 10 is to use the Startup Repair tool. By using this excellent tool, you can easily and quickly resolve the majority of problems preventing your system from booting accurately. To use this fix, follow the steps indicated below:
Step 1: Restart your system, then press and hold the F8 key on your keyboard until the boot screen is perceptible to enter the Windows Recovery Environment (WinRE). On certain systems, you may also need to press and hold down the Function (Fn) key.
Bonus-Tip: If you are unable to boot into winRE through the keyboard shortcut, then you’ll need to keep shutting your PC on and off until it automatically starts in the repair environment. On average, you need to turn your device on and off around three times.
Step 2: From the available option, choose Troubleshoot. Now, you will be able to use some tools in order to restore your device without being able to boot into the system itself.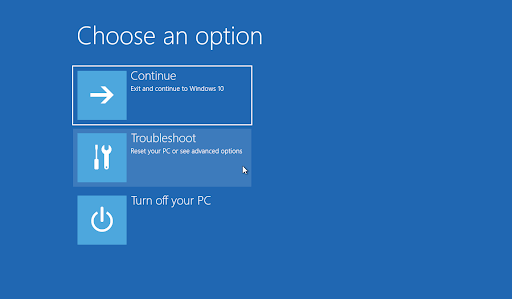
Step 3: Next, you need to click on the Advanced options to proceed.
Step 4: On the Advanced options menu, click on Startup Repair. This tool tries to detect and fix the issues that may cause Windows 10 to fail and not be able to boot as expected.
Step 5: Now, your computer system will start rebooting, and will also start automatically with Start Repair running. Once the related menu loads, choose your local user.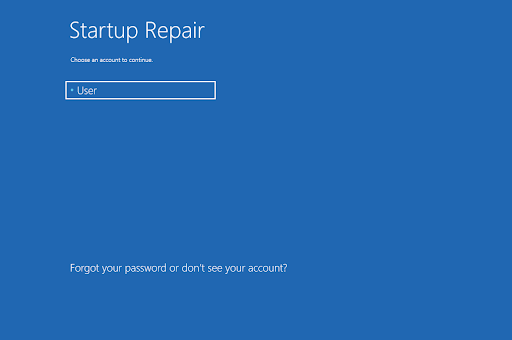
Step 6: After that, you’ll need to input your local account password, and then click on Continue. If in case, your local account does not have a password, then simply leave the text field blank or void.
Sit back and wait for Microsoft Windows to diagnose your PC and recognize any issues. If there are any problems with the startup, you will be able to notice them and select how Windows deal with them.
Solution 3: Use CHKDSK Command
You can also try to run the Check Disk command in order to repair your Windows PC. This command is ideal for detecting and resolving disk-related issues, which eventually helps you get rid of the issues with the boot loop. Here is how to do that:
Step 1: Firstly, restart your PC.
Step 2: Then, hold down the F8 key from your keyboard until the boot screen is visible and enters the WinRE (Windows Recovery Environment).
Step 3: From the Choose an Options menu, select Troubleshoot, and then Advanced Options.
Step 4: On the next screen, click on Command Prompt.
Step 5: Type chkdsk C: /r in the command prompt window, and hit Enter key from your keyboard to execute the command.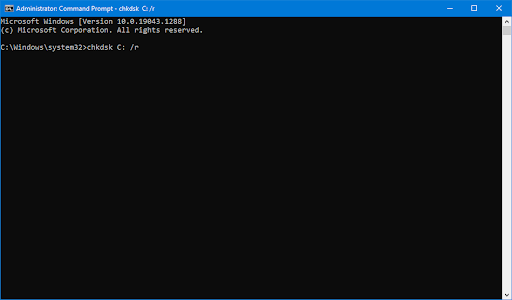
Step 6: Wait for the process to complete.
Solution 4: Save Data and Reinstall
None of the above recommendations helped? Then, the last resort for this problem is to save data and reinstall Windows 10. But before doing that, you should recover all your important files on your hard drive. To do so, you can use any best file recovery software like EaseUS Data Recovery Wizard Pro, AOMEI Partition Assistant Standard, MiniTool Partition Wizard Pro, and more.
Also Read: How to Fix KMODE Exception Not Handled Error in Windows
Bootrec/Fixboot Access is Denied in Windows 11, 10: FIXED
So, the aforementioned were 4 easy and effective solutions that you can use to fix Bootrec/fixboot access denied in Windows 10 and Windows 11. Simply follow our guide and get rid of this annoying error.
Do tell us in the comments below, whether you’re out of trouble or not. If you do have any better suggestions, feel free to leave them in the comments section to help more users.
For more information related to technology and the latest tech trends, do subscribe to our Newsletter. Along with this, you can also follow us on Social Media: Facebook, Twitter, Instagram, and Pinterest.

